
Last updated November 14, 2026
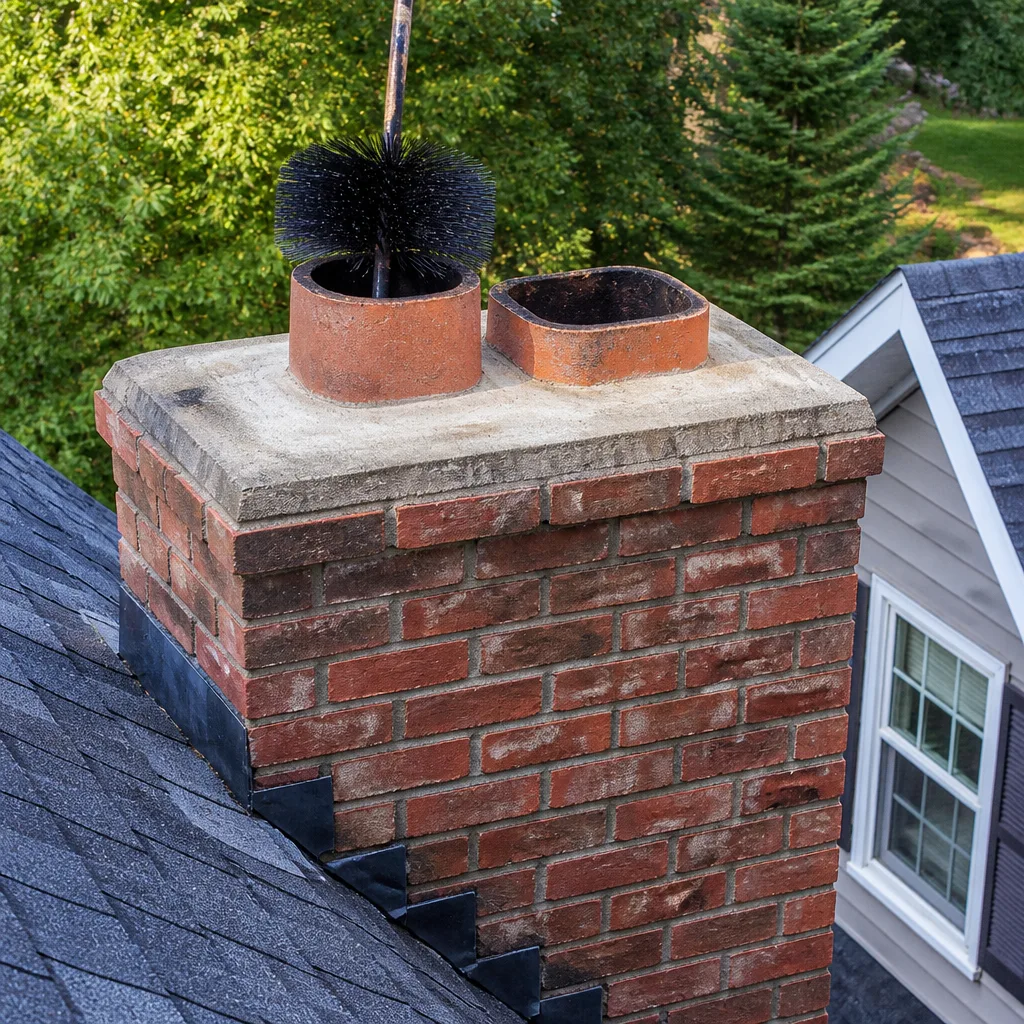 Sweep & inspection
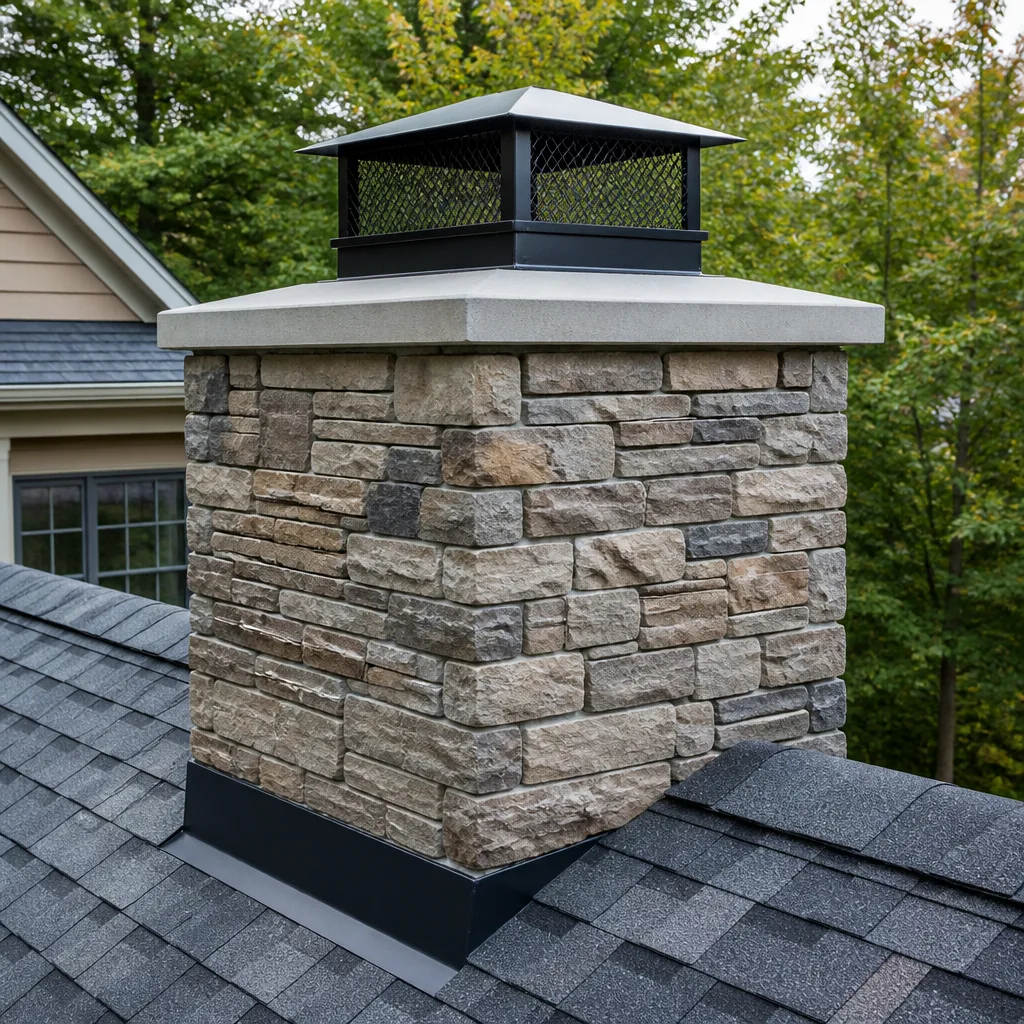 Caps & crowns
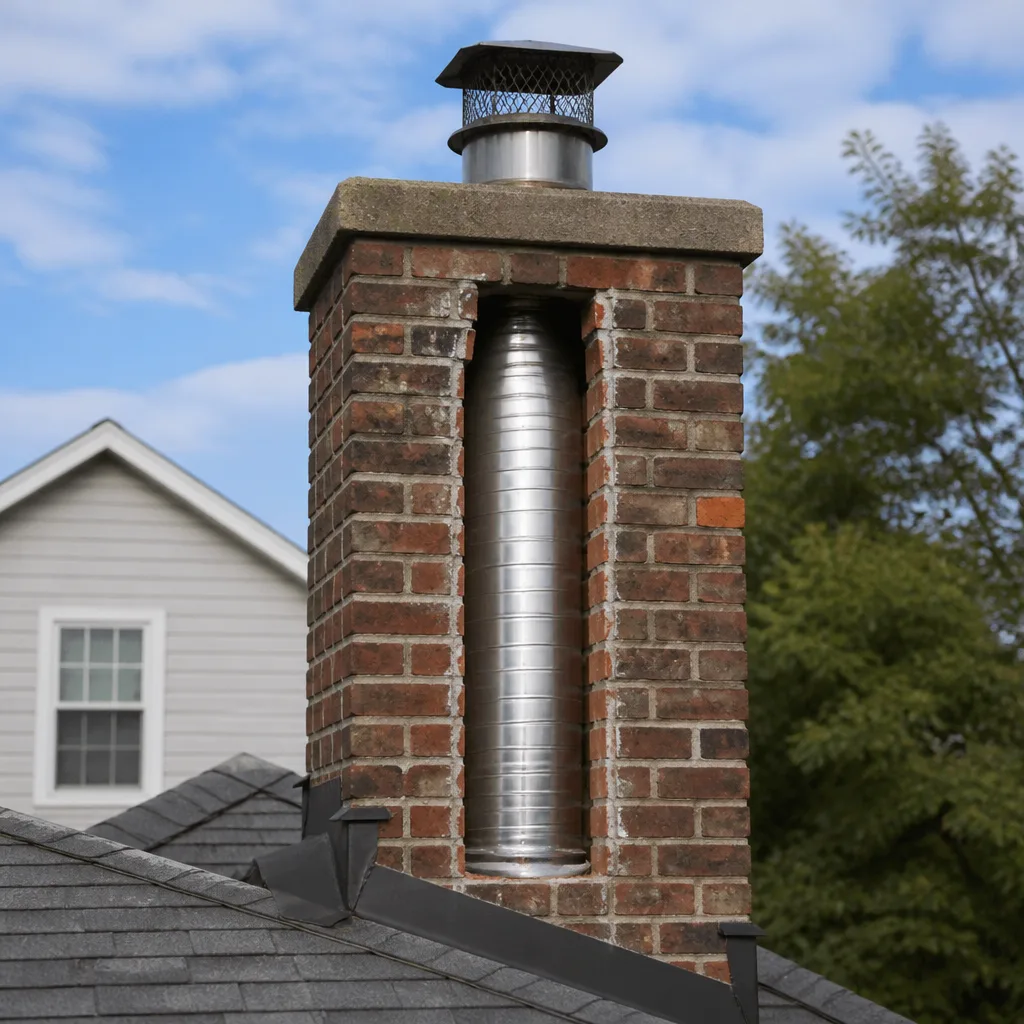 Flue relining
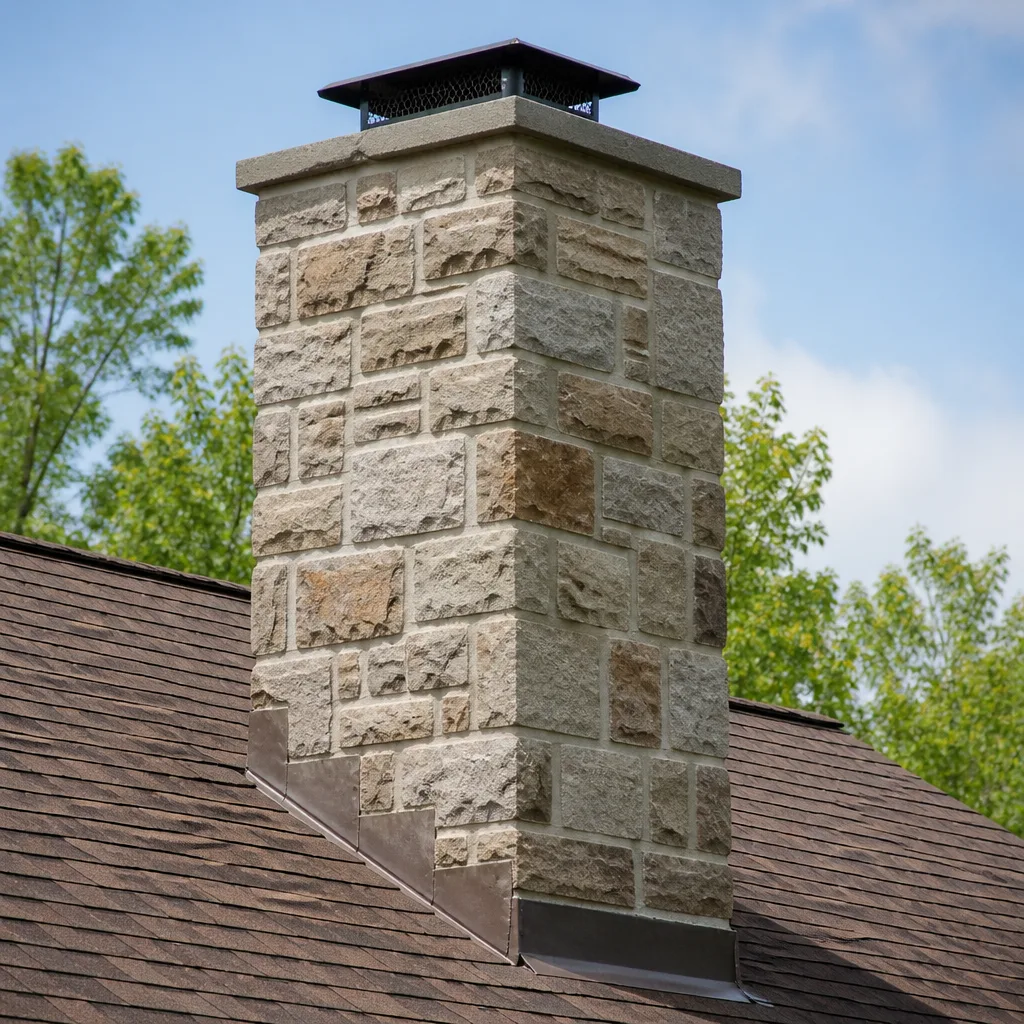 Masonry repair
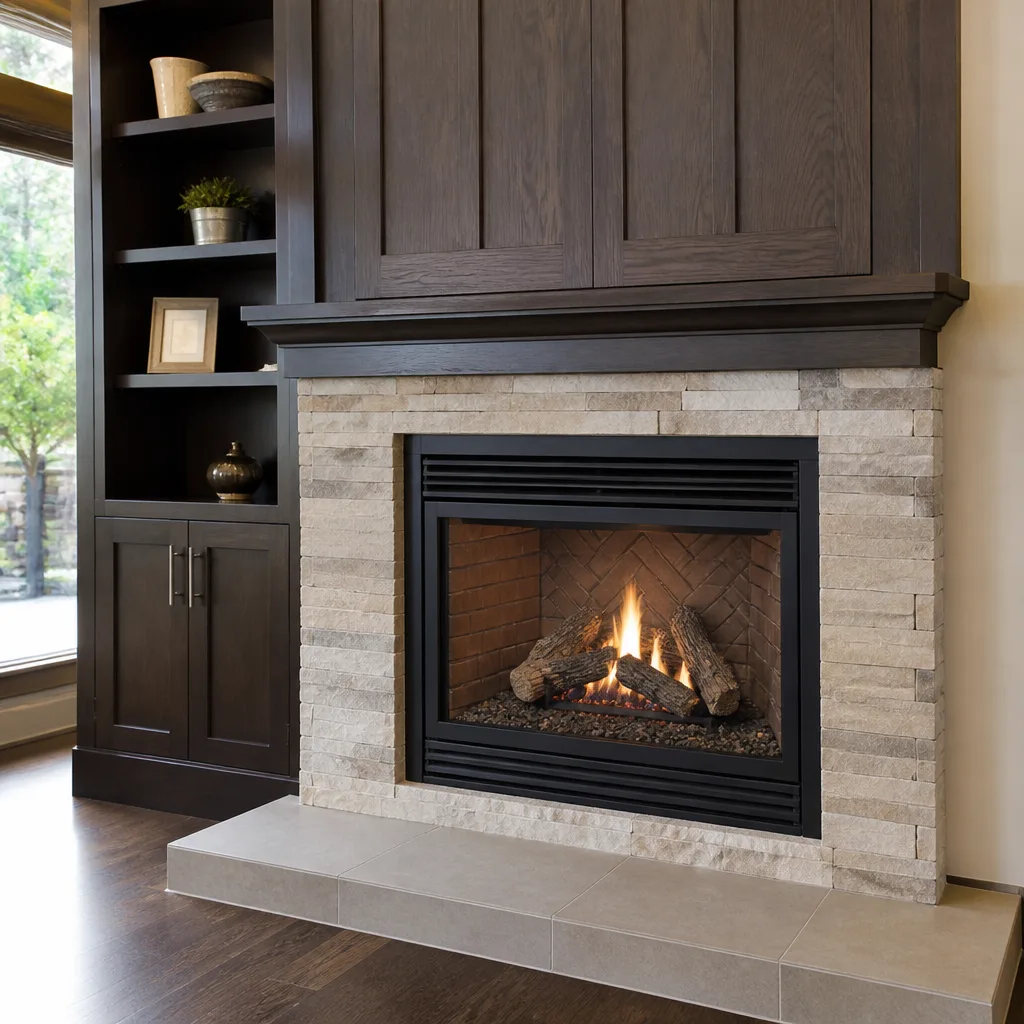 Gas fireplace service
Level 1 sweep and inspection to the NFPA 211 annual standard - flue, crown, cap, and flashing checked and photographed
Chimney sweep logs do not sweep chimneys. They loosen some creosote - which then falls where a brush and vacuum still have to collect it.
Chimney Sweep Maintenance Checklist for Garland Homeowners
The chimney cap you forgot to check after last February’s ice storm may be the reason water is quietly rusting your damper right now. That’s the part most checklists leave out: they tell you what to look for but not when to look. A chimney doesn’t degrade on a neat annual schedule. It degrades in bursts, timed to the weather Garland actually gets – hot, humid summers that grow things inside a flue, and the occasional hard freeze that cracks masonry on the way back out. This guide assigns each task to the season that causes the damage, tells you what you can safely check from the ground, and explains what needs a technician with a camera. If you use your fireplace regularly, or you’ve just bought an older Garland home, start here.
Quick Answer
A Garland chimney needs a professional sweep and inspection once a year, and the best time to book is late summer or early fall, before the first fire of the season. Between those visits, homeowners should check the cap and mesh after storm season, watch the firebox and exterior brick for changes, and run a damper test before the first burn. Anything involving the flue interior, the crown, or the liner needs a technician with a camera – those aren’t ground-level jobs.
Styles & brands we work with
- Sweep & inspection
- Caps & crowns
- Flue relining
- Masonry repair
- Gas fireplace service
Table of Contents
- Post-Winter Checklist: What Freeze Events Leave Behind
- Summer Tasks Garland Homeowners Skip
- Ground-Level vs. Technician-Level: What You Can Check Yourself
- The Damper Test to Run Before Your First Fire
- How to Log Your Chimney’s Service History
- What a Proper Sweep and Inspection Actually Involves
- Don’t Forget the Second Vent System in Your Home
- Repairs That Come Up Again and Again in Garland
Post-Winter Checklist: What Freeze Events Leave Behind
North Texas winters are mild, which is exactly why the hard freezes catch chimneys off guard. Masonry absorbs moisture during our humid stretches, and when temperatures drop hard and fast, that moisture expands inside the brick and mortar. The damage shows up after the thaw, not during the freeze. Every February or March, we walk up to chimneys in Garland that looked fine in November and now have a hairline crack running through the crown or a brick face flaking off.
Here’s what to look at once the last cold snap has passed:
- Spalling brick. Look for brick faces that have popped off and left a rough, crumbling surface behind. That’s a freeze-damage signature, not normal wear. Spalled brick lets water deeper into the structure on the next rain.
- Cracked crown. The concrete cap at the very top of the chimney should be intact and slope away from the flue. A visible crack, or a crown that’s pulling away from the flue tile, means water is getting in at the worst possible spot.
- Shifted or cracked flue tiles. From the ground you may see the top tile at an angle or with a crack across it. If the top tile moved, the tiles below it may have too – and that’s a camera job to confirm.
- Damper rust. A damper that’s stiff, crusty, or no longer seats flat is often the first sign that water has been coming down the flue.
None of these are panic items on their own. But they compound. A cracked crown lets in water, the water rusts the damper and works into the mortar, and the next freeze widens what the last one started. Catching it in spring costs far less than catching it after a few more seasons of the same cycle.
Summer Tasks Garland Homeowners Skip
Garland summers are long, hot, and humid, and that combination does things to a chimney that cold-climate guides never mention. A flue that sits unused from April to October is a dark, still, humid cavity with a masonry shell around it – close to ideal conditions for moisture retention and for animals looking for a dry place to nest. Three tasks matter most in summer, and most homeowners skip all three.
Cap and mesh inspection after storm season
Spring storms in this part of Texas can take a cap off or crush the mesh on top of it. Once the cap is damaged or missing, rain goes straight down the flue, and birds and squirrels treat the opening as an invitation. Check the cap after the last round of spring storms. You’re looking for a cap that’s still anchored, mesh that isn’t torn or pushed in, and no debris packed against the screen.
Animal intrusion check before fall
Nesting season ends, but the evidence stays. Look for nesting material, twigs, or droppings in the firebox, and listen for scratching on a still morning. A blocked flue doesn’t just fail to draw smoke – it can push carbon monoxide back into the house instead of up the chimney. Never light a fire to “clear out” a nest. Have it removed and the flue checked first.
Draft and odor check on humid days
If your firebox smells musty or smoky on a hot, sticky day when there’s no fire, that’s usually a sign of creosote residue combined with humidity and a weak draft. It’s a good prompt to book a chimney sweep before fall, when the calendar fills up. Getting on the schedule in August is a lot easier than calling the week of the first cold front.
Ground-Level vs. Technician-Level: What You Can Check Yourself
Being clear about this boundary is the single most useful thing in this guide. Homeowners who know what’s safe to check from the ground protect their chimney without putting themselves on a roof or in a flue. Homeowners who guess end up either missing real problems or trying to inspect something that requires training and equipment. Here’s the split.
Safe from ground level
- Exterior brick and mortar, from the yard. Binoculars work well. Look for spalling faces, missing mortar joints, white staining, or a lean.
- The top of the chimney from below. You can see a damaged cap, a tilted top flue tile, or a crown that’s visibly cracked or separated.
- The firebox. Look for cracked firebrick, crumbling mortar joints, or a damper that doesn’t move freely.
- Signs of water inside. Rust on the damper or firebox, damp ash, or a musty smell after rain.
- Draft at the firebox opening. A tissue held near an open damper on a cool day should be pulled gently toward the flue.
Requires a technician with a camera
- The flue interior. Creosote thickness, glazed deposits, cracked or shifted liner tiles, and gaps at the joints are all invisible without a camera run down the flue.
- Liner condition behind the masonry. On an older Garland home, the existing liner may be clay tile, a cast-in-place product, or something a previous owner installed. Only an inspection tells you which, and whether it’s still sound.
- Crown and flashing at close range. The crown’s slope, the flashing seal where the chimney meets the roof, and the condition of the chase cover all need a technician on the roof.
- Anything above the roofline you can’t see clearly from the yard. If it’s not unmistakably visible from the ground, don’t assume it’s fine, and don’t climb up to check.
The roof is not a place to learn by doing. Steep pitches and aging shingles send plenty of careful homeowners to the emergency room every year, and none of what you’d see up there tells you what’s happening inside the flue anyway.
The Damper Test to Run Before Your First Fire
Before the first fire of the season, run this test. It takes two minutes and it tells you whether your chimney is ready to do its two jobs: carry smoke out and keep the fire’s byproducts from coming back in.
- Open the damper fully. It should move smoothly from closed to open without sticking, grinding, or catching. A damper that only opens partway or won’t stay open is a problem.
- Look straight up the flue from the firebox with a flashlight. You should see daylight at the top. If you don’t, something is blocking the flue – a nest, a collapsed tile, debris – and you must not light a fire until it’s cleared.
- Check the damper seats flat when closed. With the damper closed, you shouldn’t see daylight around the edges. A damper that doesn’t seal lets conditioned air escape up the chimney all summer and lets cold air down in winter.
- Feel for draft. On a cool morning, hold your hand near the open damper. You should feel a steady, gentle pull toward the flue. Weak or no draft means the flue needs a look before you burn.
- Note the mechanism type. Top-mount, throat, and rotary dampers behave differently. If yours is stiff, seized, or clearly broken, a technician can often repair or replace it without replacing the whole assembly.
A failed damper test means one of three things: the damper itself is damaged, the flue is blocked, or the chimney isn’t drafting properly. All three are worth a professional look before the first fire, because burning with any of them can push smoke and carbon monoxide into the living space instead of out of it. Fixing a damper now is a small job. Fixing a rusted damper, a water-damaged firebox, and a smoke-stained room later is not.
How to Log Your Chimney’s Service History
Chimneys don’t come with a service record, and that’s a real problem for anyone who buys an older home in Garland. A new technician walks up to a chimney with no idea whether the liner was replaced six years ago, whether the crown was patched, or whether the previous owner ever had it swept. You can fix that in ten minutes by starting a log. Here’s how to build one that’s actually useful.
- Keep one physical folder or one shared digital note. Pick a spot the whole household can find. A folder in the same drawer as your appliance manuals works.
- Record every service with four details: the date, who did the work, what they did, and what they recommended for next time. “Swept flue, camera inspection, crown showed a hairline crack, monitor next visit” tells the next technician far more than a receipt does.
- Photograph the chimney exterior each time. A dated photo of the crown and brick from the yard gives you and your technician a side-by-side comparison for changes over time.
- Keep the written report from every inspection. A proper camera inspection produces a photo record of the flue. Store it with the log.
- Note repairs and materials. If a liner or resurfacing job was done, record the product and the date. When we install a DuraFlex liner system or apply HeatShield resurfacing, we note exactly what was used so a future technician knows what they’re looking at.
If you’re buying an older home, ask the seller for this log. If they don’t have one, that’s your cue to book an inspection before the first fire in your new place. A chimney with no history is not automatically a bad chimney, but it is an unknown one, and unknowns are exactly what a camera inspection is for.
What a Proper Sweep and Inspection Actually Involves
A sweep is not a brush on a stick and a wave goodbye. A proper annual service has two parts, cleaning and inspection, and the inspection is where the value actually lives. Here’s what should happen during a visit, and what you should walk away with.
The sweeping
The flue gets swept from the firebox up, with drop cloths and a vacuum running to keep soot out of your home. The technician removes creosote – the tar-like residue that builds up as smoke cools on the flue walls – and clear soot from the firebox and smoke chamber. Creosote is the fuel behind most chimney fires, and glazed, hardened creosote can’t be brushed off at all; it has to be treated. That’s one reason it matters who you call.
The camera inspection
After the sweep, a camera goes down the flue. You should be shown the condition of the liner, any cracks or gaps at the tile joints, and the smoke chamber above the damper. Video and still photos should be part of the report, and you should be able to look at the picture yourself. In our experience, the homeowner’s biggest worry is being told they need expensive liner or masonry work they can’t verify. Camera evidence they can see settles that. If the flue is sound, the report should say so plainly, and no work gets recommended. If it’s not, you’ll be looking at the reason on video.
What to expect in the report
- Before-and-after photos of the flue and firebox
- Camera images of the liner, with any cracks, gaps, or shifting flagged
- The condition of the crown, cap, flashing, and exterior masonry
- The damper and smoke chamber condition
- A clear statement of anything urgent, anything to watch, and anything that can safely wait
Dayspring Chimney Sweep handles sweeping and repair under one roof, which matters here. When the camera finds a cracked crown or a failing liner, the same company that spotted it can fix it, using trade-grade materials like HeatShield resurfacing, DuraFlex liners, and Gelco products rather than a substitute pulled off a big-box shelf. You’re not handed off to a subcontractor you’ve never met.
Don’t Forget the Second Vent System in Your Home
Your chimney isn’t the only vent in the house that builds up flammable material. The dryer exhaust duct does the same thing, with lint instead of creosote. Lint is highly combustible, and a clogged dryer vent traps heat inside the duct and inside the dryer itself. This is one of the leading causes of home fires in the country, and it’s the maintenance task most homeowners never think about.
The warning signs are worth memorizing:
- Clothes take longer than they used to – a second cycle to dry a normal load
- The dryer feels hot to the touch on top or at the door
- A musty or burning smell in the laundry area
- Lint visible around the outside vent flap, or a flap that no longer opens
- The duct behind the dryer is crushed, kinked, or runs a long, winding path
Add dryer vent cleaning to your annual chimney service and you address the two leading home-fire hazards in one visit. Dayspring covers both, so a single appointment gets you a swept chimney and a cleared dryer exhaust. That’s a lot of risk reduction for one phone call, and it’s easy to forget if you only ever book one.
Repairs That Come Up Again and Again in Garland
After enough inspections in Garland, the same handful of issues turns up over and over. Knowing what they are helps you spot them early and helps you understand what a technician is proposing when they find one.
Cracked crowns and failing mortar
The crown takes the brunt of the sun, rain, and heat here. Once it develops a crack, water gets in at the top of the chimney and works its way down. HeatShield resurfacing is one way to restore a damaged flue interior; a crown repair or rebuild handles the concrete cap. Both are common repairs in this climate, and both are best caught early.
Deteriorating flue liners
Clay tile liners crack and shift over the decades, and older Garland homes have plenty of them. A damaged liner lets creosote and heat reach the surrounding masonry, which is a fire hazard. Relining with a DuraFlex system restores a continuous, sealed flue without tearing down the chimney.
Damper and firebox wear
Rusty dampers and cracked firebrick are usually water damage showing up late. A damper that doesn’t seal is worth fixing for safety and for keeping conditioned air from escaping all year.
If a repair is recommended, ask to see the camera evidence and get it in writing. A reputable repair recommendation comes with a picture, a product name (Olympia Chimney, Famco, and Copperfield are trade-grade names you’ll see in quality repair work), and a clear explanation of what happens if you wait. If something can safely wait a season, a good technician will tell you that too.
Common Mistakes to Avoid
- Skipping the post-winter check. Garland freezes are infrequent enough that homeowners assume nothing happened. A single hard freeze can crack a crown or start spalling, and you’ll only find out on the next inspection if you don’t look in spring.
- Burning with a blocked or damaged flue. Lighting a fire to “clear out” a nest or to test a weak draft pushes carbon monoxide into the house instead of up the chimney. Check the flue from the firebox before the first fire, always.
- Waiting until November to book a sweep. The week of the first cold front is the busiest time of year for any chimney company. Book in late summer, when the schedule is open.
- Trusting a sweep that only brushes. A sweep with no camera and no written report tells you nothing about your liner or crown. You want to see the pictures, not just hear the summary.
- Ignoring the dryer vent. The same annual visit can clear both vent systems. Skipping the dryer duct leaves a fire hazard you won’t notice until a load of towels won’t dry.
- Letting a small crown crack go. A hairline crack in the crown becomes a rusted damper, a damaged firebox, and mortar repair. It compounds fast, and cheap to fix early is the whole point.
- No service record. If you ever sell, or hire a new technician, a written log of what was done and when saves a lot of guesswork. Start one today even if you’ve never kept one.
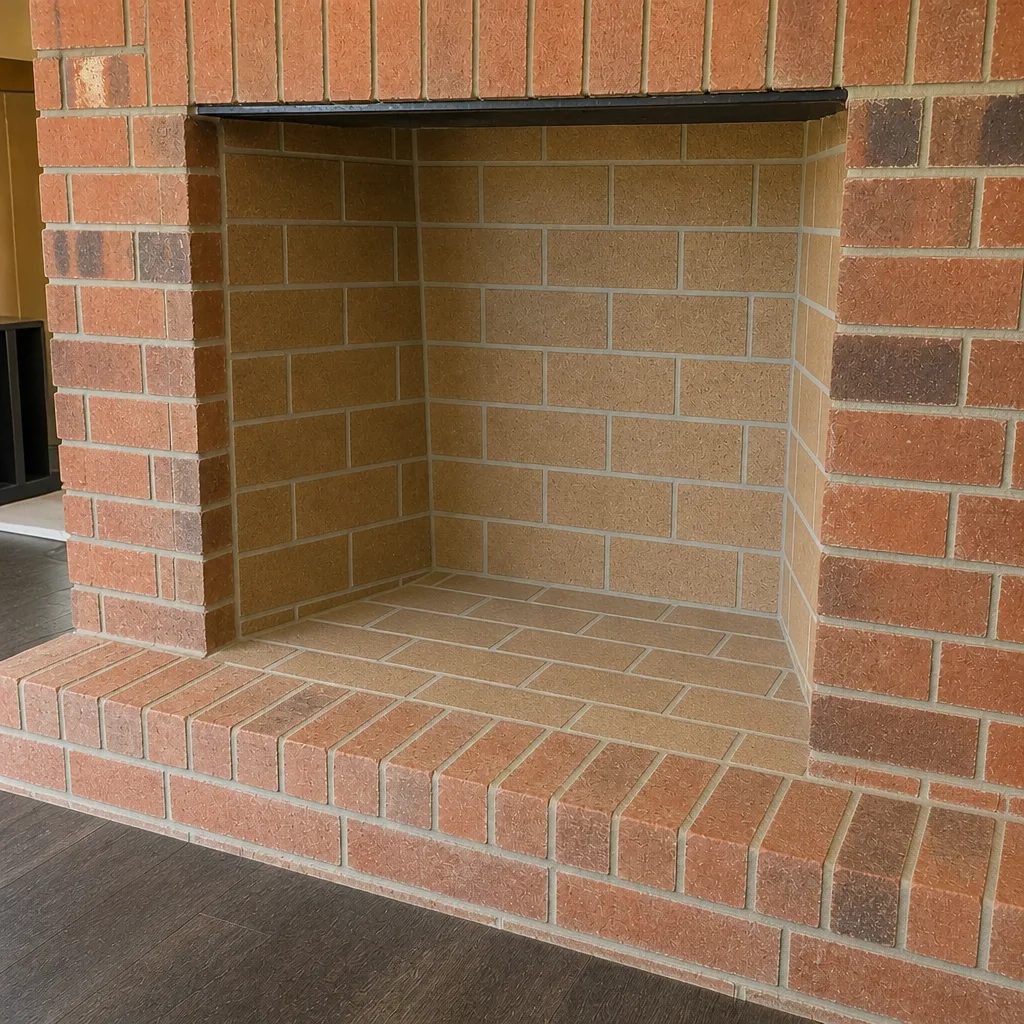
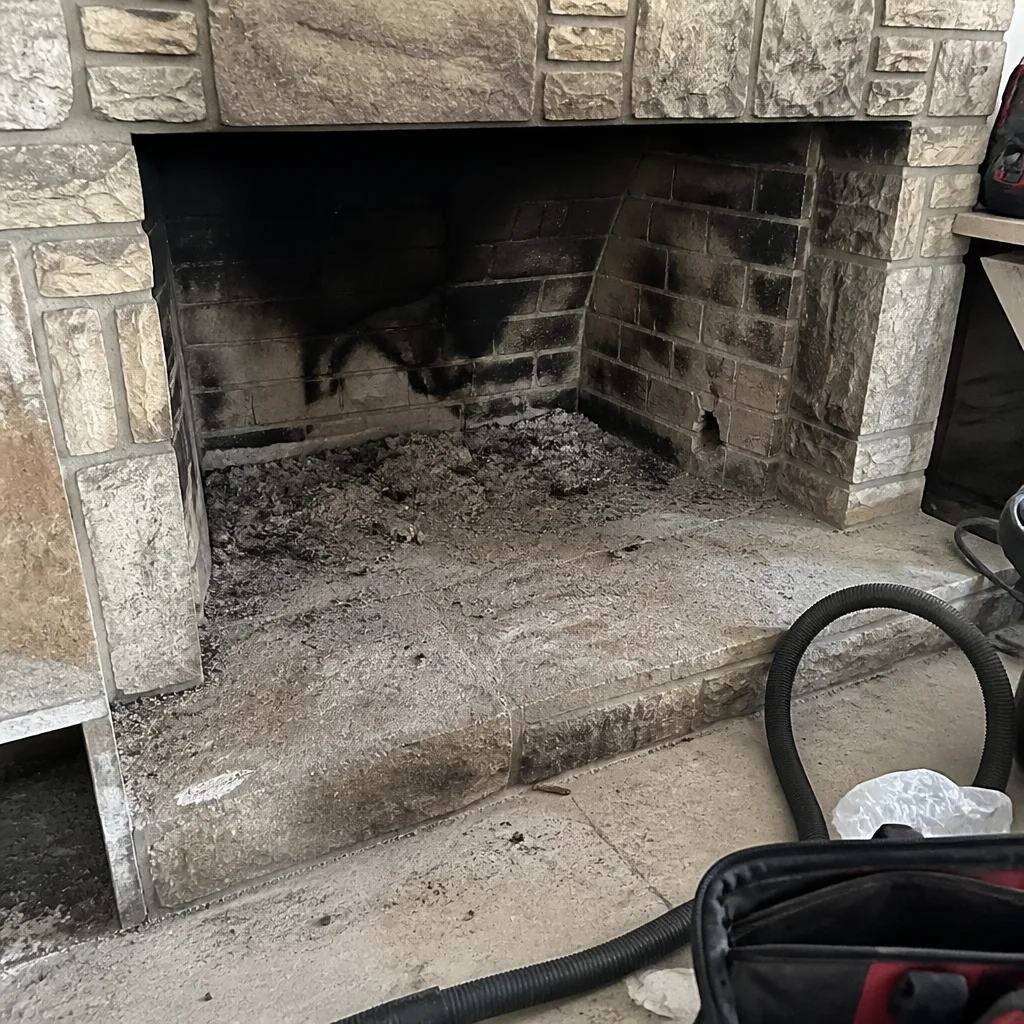
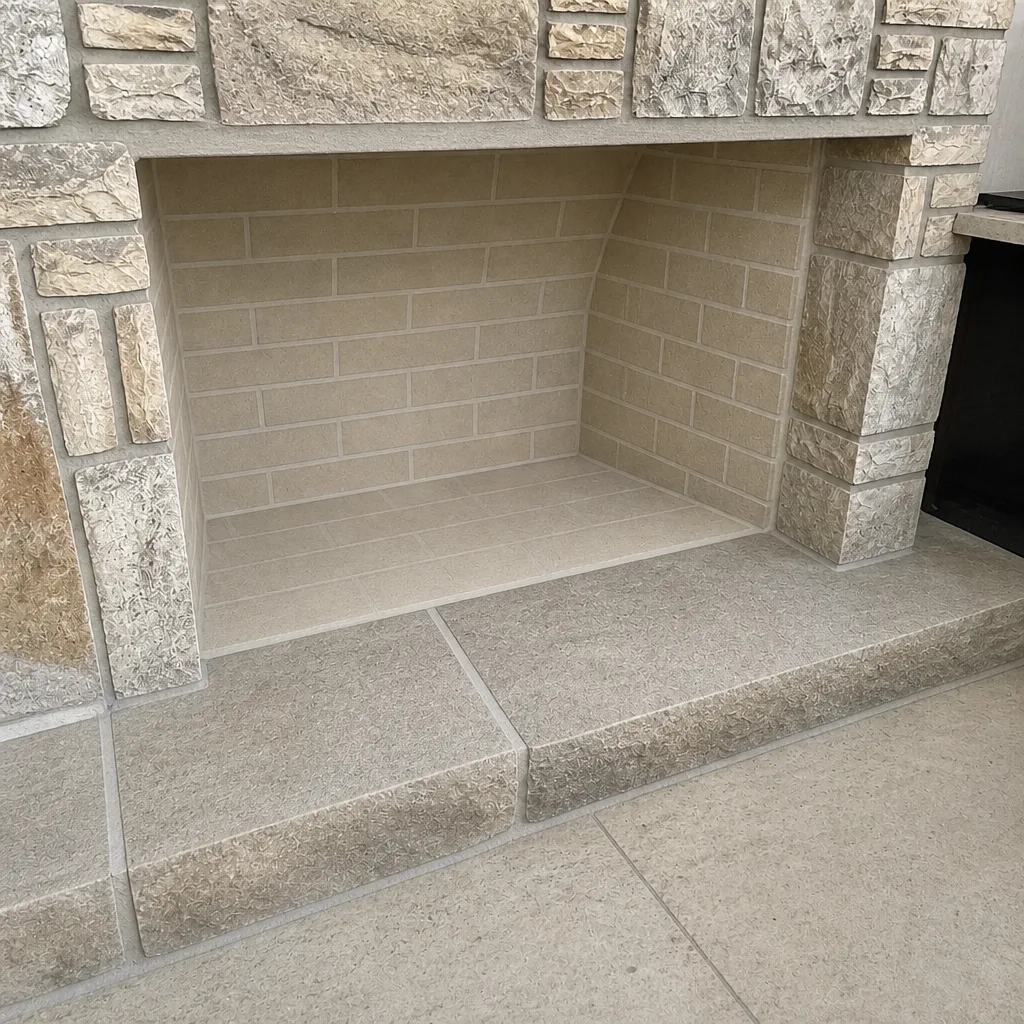
See the difference
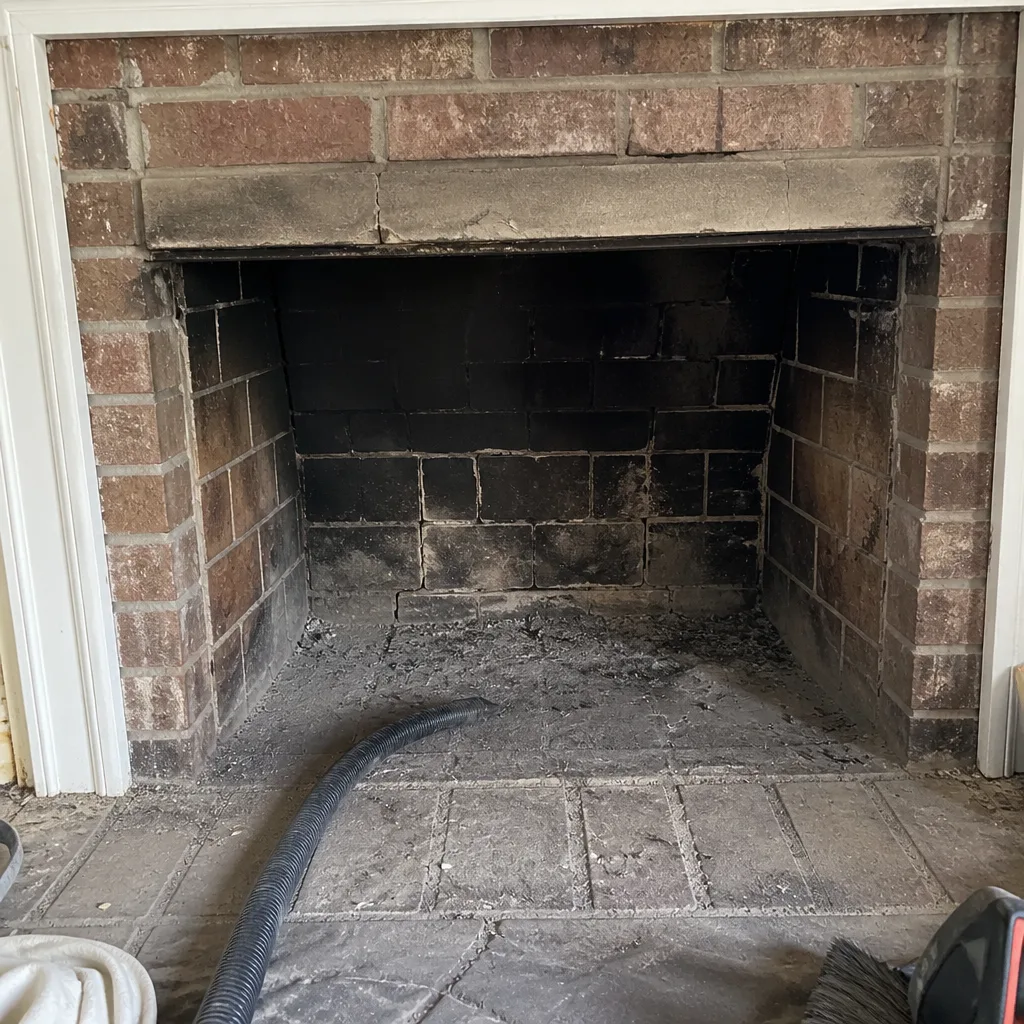 Before
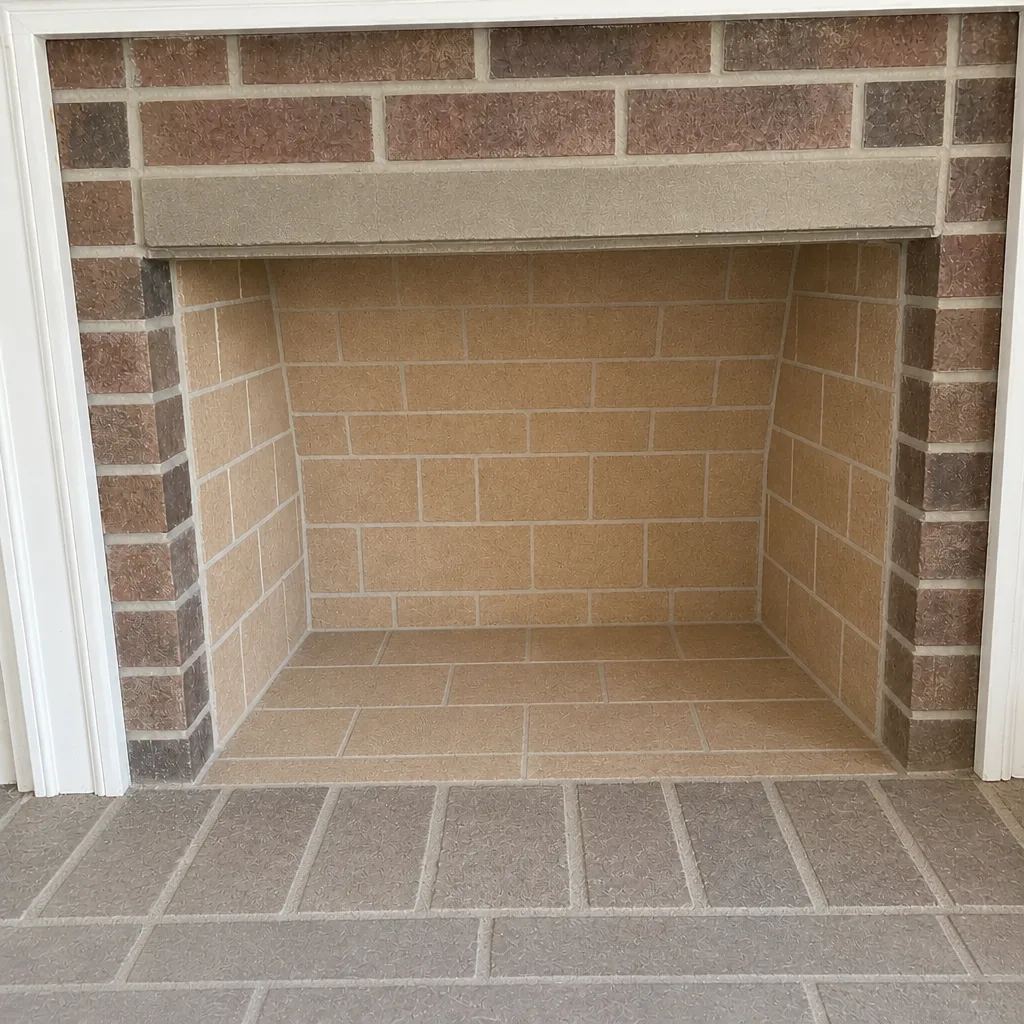 After
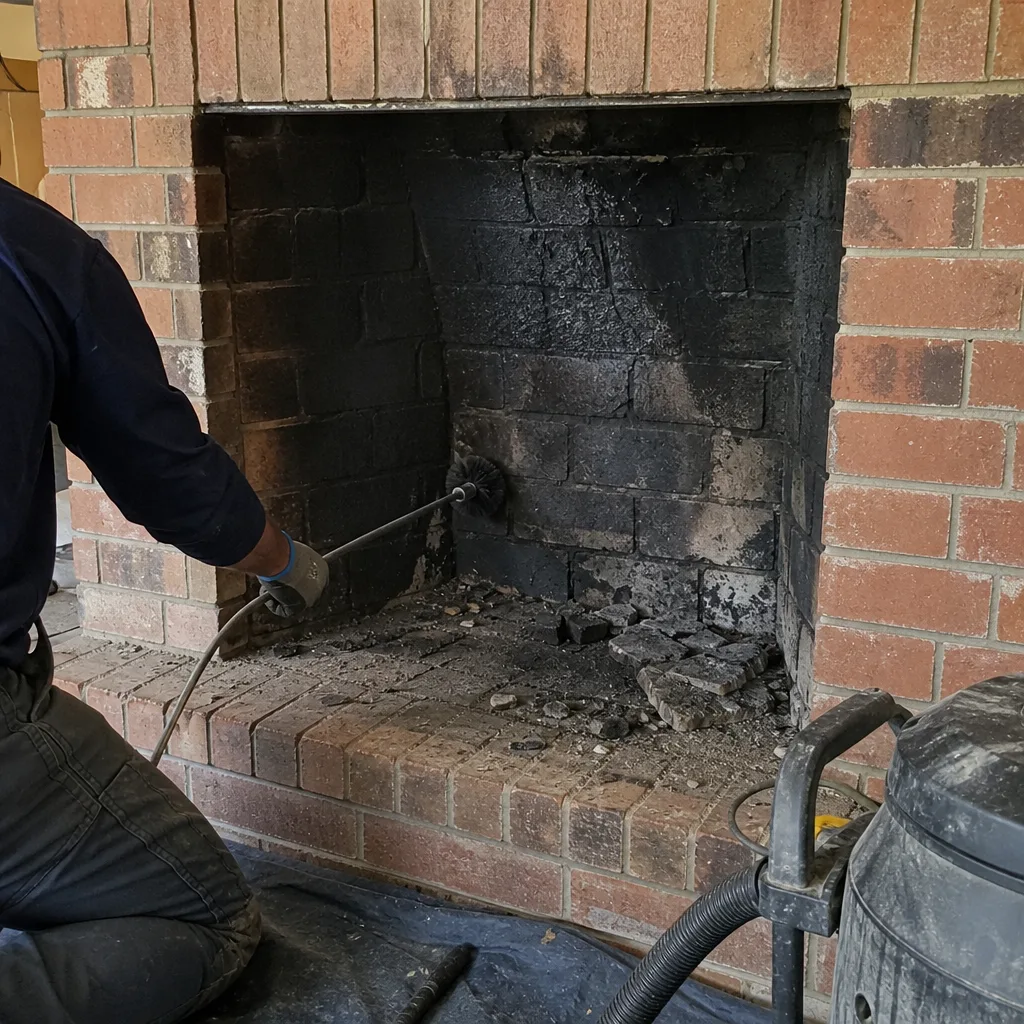 Before
 After
 Before
 After
When to Call a Professional
Call a professional if you see spalling brick, a cracked crown, or a top flue tile that’s tilted or cracked from the ground. Call if you smell musty or smoky odors from the firebox on humid days, or if your damper is stiff, won’t seal, or won’t open fully. Call if you’ve moved into an older home and don’t know when the chimney was last serviced. Call immediately if you see nesting material or hear animals in the flue – don’t light a fire until it’s cleared. And call if it’s simply been more than a year since your last sweep and inspection; the annual visit is the foundation of everything else in this guide. Dayspring Chimney Sweep offers free estimates in Garland – call (855) 974-6812. We answer 24/7. Fast dispatch from 7am to 7pm, Sunday through Friday.
Frequently Asked Questions
Once a year, and that’s the baseline for a fireplace used regularly through the season. Homes that burn often, or that burn green or unseasoned wood, may need a mid-season check. The annual sweep and camera inspection is the starting point; if the report shows more creosote than expected, your technician will tell you.
Creosote builds up inside the flue as smoke cools, and it is the fuel behind most chimney fires. Skip it long enough and you’re burning a fire next to a coating of highly flammable residue, with no idea of the condition of your liner. A blocked or damaged flue can also push carbon monoxide into the house instead of out. That’s the real reason the annual visit matters. Call (855) 974-6812 to get on the schedule.
You can check the firebox and confirm daylight at the top of the flue, and that’s genuinely useful. What you can’t do from the firebox is see cracks in the liner, gaps at the tile joints, or the thickness of the creosote. Those require a camera run down the flue by a technician. Use the flashlight check as a quick pre-fire test, not a substitute for inspection.
Late summer or early fall is the best time in Garland. The fire hazard of creosote buildup is highest after a full burn season, so a spring sweep clears it, while a late summer sweep means you’re clean and inspected before the first cold front. Either works. What matters is that it’s on the calendar before the November rush.
Yes, and more than most homeowners realize. A damaged or missing cap lets rain straight down the flue, which rusts the damper and damages the firebox, and it lets birds and squirrels nest in the chimney. Check the cap and mesh after storm season, and have a damaged one replaced. A cap is a small repair that prevents a much larger one.
Yes, and Dayspring does exactly that. Both are vent systems that accumulate flammable material, and both are routine maintenance. Bundling them means one appointment covers the two leading home-fire hazards in the house. Call (855) 974-6812 for a free estimate and ask to book both together.
The Bottom Line
The point of this checklist isn’t to hand you a longer to-do list. It’s to match each task to the season that causes the damage. Check the crown, brick, and cap after the last freeze – that’s when crack and spalling damage reveals itself. Check the cap and mesh and look for animal intrusion in summer, before fall nesting settles in. Run the damper test before the first fire, and never light one with a blocked or damaged flue. Book a camera inspection every year, and keep a written log so the next technician isn’t guessing. A Garland chimney rewards attention, and the seasons here tell you exactly when to give it. See the full range of what we handle in Garland and across our Dayspring Chimney Sweep services, including dryer vent cleaning, and call (855) 974-6812 for a free estimate. We answer 24/7. Fast dispatch from 7am to 7pm, Sunday through Friday.
Written by the team at Dayspring Chimney Sweep, serving Garland since 2016.